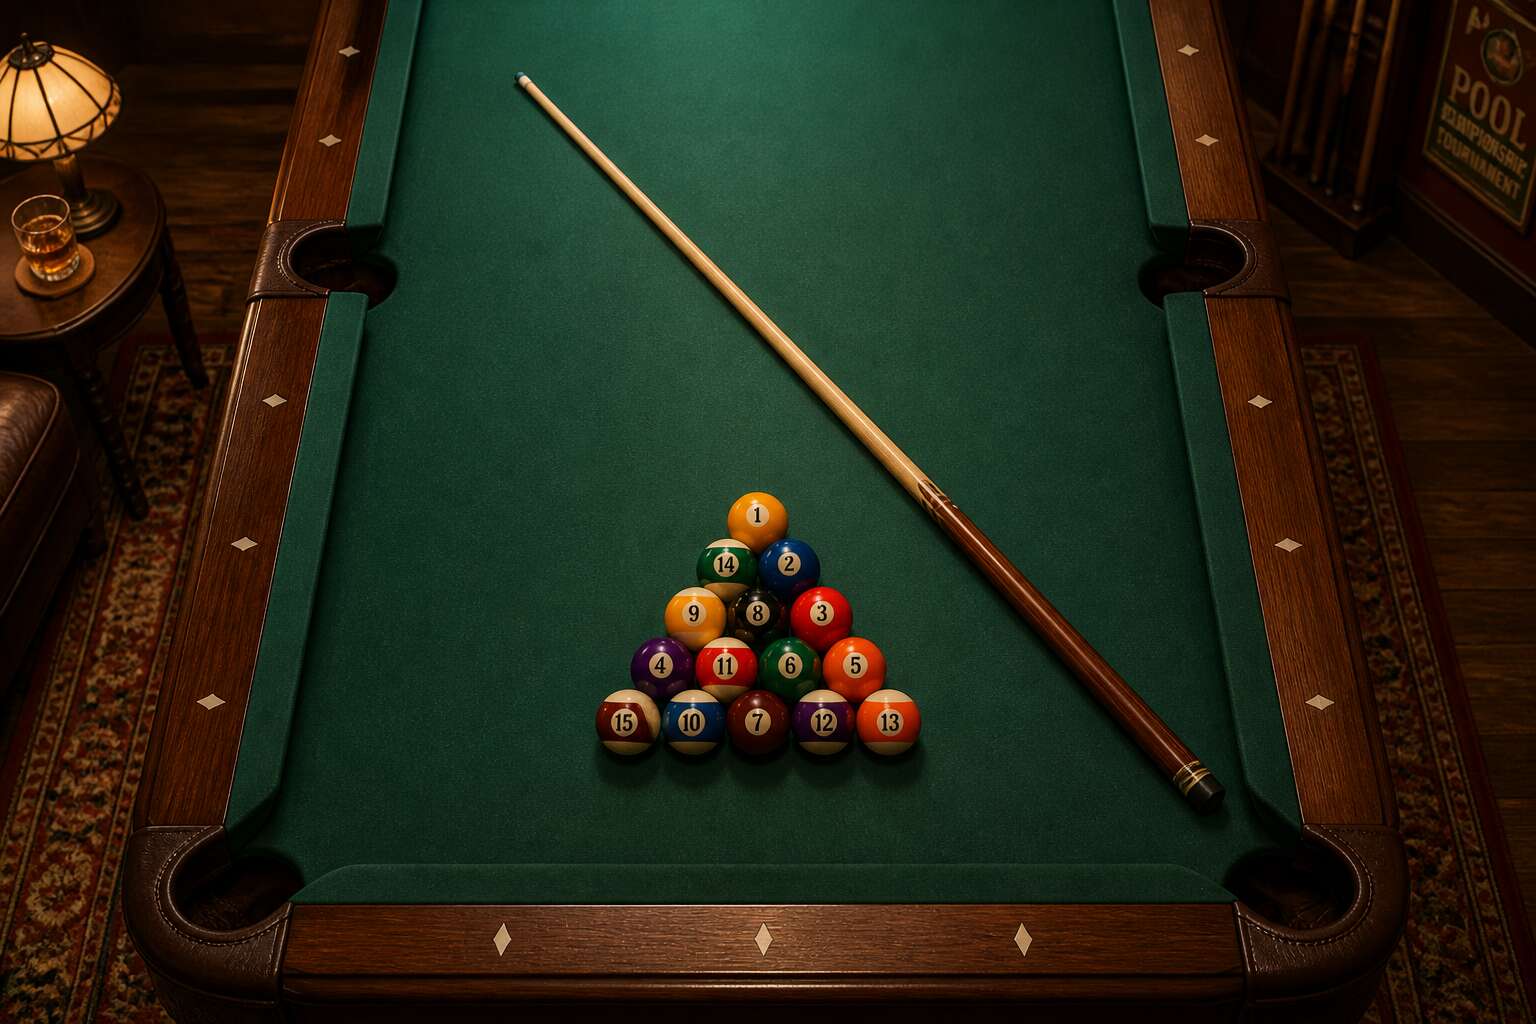
Selecting the Perfect Spot for Your Billiard Table
Measuring Your Space for Comfortable Play
A single misplaced centimetre can ruin an evening of billiards. You need the full length of your cue to swing freely on every side of the table. Standard cues measure around 145 centimetres, so factor that into every wall, pillar, and piece of furniture.
A proper pool table setup begins with measuring your room before committing to any purchase. South African homes often feature irregular layouts, so do not assume your space will fit a standard table. Take the table’s length and width, then add 2.9 metres to each dimension. Trust me, that accounts for the cue on both ends!
- Check ceiling height for overhead lighting.
- Ensure doorways can accommodate the table’s delivery.
- Verify the floor is level to avoid biased ball rolls.
Only then can you consider the aesthetic positioning. A pool table setup demands precision. Get the measurements right and the rest follows.
Evaluating Floor Strength and Stability
The average slate billiard table deposits over 400 kilograms of dead load through four legs. That mass transfers directly into your floor. A pool table setup requires structural honesty before visual appeal.
A concrete slab on grade offers ideal rigidity. A suspended timber floor, common in older Johannesburg homes, flexes differently. Every shot sends micro-vibrations through the joists, and over months, that flex loosens joints and distorts the slate bed.
When planning a pool table setup, position the table where the floor is stiffest. Areas near load-bearing walls outperform the centre of a long clear span. I have watched cue balls drift on unstable subfloors. Inspect for deflection indicators:
- Cracked tiles radiating from stress points
- Squeaking floorboards along staggered intervals
- Uneven gaps between skirting and flooring
The room’s rhythm matters too. Avoid high-traffic corridors and sun-exposed windows. The right spot balances stiffness and stability, so your table plays true.
Managing Ambient Light and Glare
Ambient light makes or breaks a pool table setup more than people expect. A bare fluorescent tube casts shadows that hide the cue ball. East facing windows flood the cloth with morning sun, turning it into a sheet of white heat. In Johannesburg, afternoon glare from unshaded west windows is a particular nuisance. The eye needs consistent, diffused light that does not shift with the clock.
Walk the room at different times of day before finalising your spot. Notice where the lamp’s halo falls and whether your own body blocks the light when you lean over a shot. Watch for these common problems:
- Direct sun across the cloth at midday
- Reflections from glass surfaces
- Harsh shadows under a single lamp
Curtains and a matte lamp shade solve most glare. Position adjustable task lights above the rails, not the pockets, so the pool table setup reads as one even tone.
Planning for Future Movement and Access
A table can fit a room on paper and fail in practice. The real measure of a good spot is how the room behaves when people move through it. Watch the natural paths between doorways, furniture, and daily use. In many Johannesburg homes, that means a passing toddler, a weekend braai, or a furniture rearrangement.
Access is a narrower question, and it catches people off guard. The pool table setup must consider the route from the delivery truck to the final resting place. Doorways and staircases determine whether the table arrives intact.
- Measure door openings against the table’s smallest dimension
- Count every turn on the staircase, especially at landings
Future movement is the forgotten variable in any pool table setup. A room’s purpose changes. The table may need re-clothing, or the home may need a different layout. Clearance behind the table’s most exposed side makes that possible without shifting the entire room.
Gathering the Right Tools and Components
Conducting a Full Inventory of Parts
A pool table setup arrives with anywhere from fifty to two hundred individual pieces. The manual lists all of them, in theory. In practice, the box will yield fewer, and the missing ones will be the exact parts you need. Before you touch a single bolt, empty every carton and lay every component across the floor. Conduct a full inventory against the parts diagram. This takes twenty minutes and saves four hours.
A proper pool table setup requires a few non negotiable tools:
- a socket wrench set for the bolts
- a rubber mallet for stubborn joints
- a spirit level you trust
- a microfibre cloth that will not scratch the playing surface
Count every screw, bracket, and cushion. Label each piece with painter’s tape as you unpack. The manual may list forty parts. You will find thirty six. That missing handful will turn a two hour job into a weekend project.
Assembling Essential Tools and Safety Equipment
Every pool table setup asks for a particular toolkit. My socket wrench set has outlived three relationships! A rubber mallet is not optional. It is the difference between a gentle nudge and a shouted expletive.
A spirit level you trust is worth more than one you merely own. The microfibre cloth protects the playing surface from your own enthusiasm.
Safety equipment deserves its own ceremony:
- gloves for the slate edges
- safety glasses for when a staple gun misfires
- sturdy shoes, because loose slippers have no place near a dropped slate slab
The assembly begins with these companions sorted and within reach. A proper setup rewards the prepared and punishes the improviser.
Understanding Each Component’s Role
Every pool table setup begins with knowing what each component does before you lift a single part. The rails, the cushions, the pockets and the slate each arrive with their own demands.
The slate must sit perfectly flat or every shot will roll with a lie. The cushions, that rubber beneath the cloth, decide how a ball leaves the rail. The pockets have their own geometry. The cloth is the surface where your whole pool table setup lives or fails.
- Slate: the playing bed, requires precise leveling
- Cushions: determine rebound speed and angle
- Pockets: shaped to catch or reject balls
- Cloth: controls the roll and speed of play
Understand each role and the assembly becomes a matter of patience, not guesswork.
Building the Frame and Achieving a Flawless Level
Constructing the Base Frame and Legs
Pool table setup dies on a warped frame. I have watched good cloth and cushions fail because the base twisted. The frame and legs determine stability.
The long rails connect to the cross beams. Every joint needs a firm seat, with bolts snug but never forced. The legs fit into their brackets. A carpenter’s level across the frame’s width and length reveals the truth. If the bubble drifts, thin metal washers act as shims under the legs.
The frame’s own flatness gets tested here. An uneven frame turns a perfect slate into a diagonal mess. Leveling before the slate is essential, since the slate adds mass. Once the frame sits dead flat, the table’s geometry becomes reliable. This determines cushion response and ball roll in your pool table setup.
Positioning the Slate Bed Correctly
A tournament mechanic once told me that the slate’s flatness is the soul of the game, while the frame is its skeleton. That distinction matters because the base structure dictates everything that follows. With the legs seated, attention turns to the cross beams and their final fastening. The frame must feel monolithic. I have watched a table with a seemingly perfect top still play poorly because a single joint flexed under pressure, so each bolt should be snugged to a consistent torque, never forced past its natural seat. The final check involves a long straightedge placed diagonally across the frame, which will reveal any subtle twist in the base assembly. This leveling phase is where a pool table setup gains its integrity.
When you move the straightedge over the frame, look for light gaps beneath it. A shim here, a washer there, and the structure settles into a perfect plane. The slate bed itself demands a different kind of reverence. It arrives heavy, often in three pieces, and its weight will eventually compress the frame slightly, so preemptive leveling is essential. The seams between the slate sections require wax or a specialised filler to ensure a seamless roll. As you lower each slab onto the frame, check the seams with your fingertips, they should feel perfectly flush, with zero lip affecting ball travel. The slate’s top surface must be verified with a precision straightedge, not a carpenter’s level. Any high spot identified now will become a dead spot in the cloth later. This meticulous process, aligning the timber substructure and then preparing the stone surface, is the quiet work that makes a good pool table setup memorable.
Using Shims for Precision Leveling
The frame can look solid and still betray you an hour later. That is why precision leveling belongs before the slate ever arrives. I have watched installers skip shims entirely, and their pool table setup always suffers for it. A thin tapered shim slipped under a low corner corrects floor undulations without forcing the timber joints. Check the level. Add a shim. Recheck. Small moves, one bolt at a time.
Keep these principles in mind:
- Work with a machinist’s level, which reads far more accurately than a spirit level.
- Tap shims home gently and trim any excess so nothing interferes with the slate below.
This part of a pool table setup feels repetitive, but repetitive is what true level requires.
Filling and Smoothing Slate Seams
Building the frame is assembly, not construction. The base carries every ounce of the slate, and a pool table setup that ignores this balance will settle into misalignment. I tighten each bolt in sequences that pull the frame square, never forcing a joint that resists.
Slate seams demand patience. Filling and smoothing slate seams is the final act of the leveling process, where dust and resin become glass. I mix filler to a thin paste and press it into every joint, scraping flush while the compound still yields. A damp cloth removes the smear, leaving a surface that feels continuous under the cloth. This quiet repetition separates a well-executed installation from a hasty one.
Verifying Level Across All Directions
Any pool table setup hinges on a frame that holds its shape. I assemble each section from straight grained hardwood, checking every joint by hand. A loose joint here will defeat every leveling effort later. Before the slate goes on, I verify level across all directions. The bubble must hold its position from head to foot, across the width, and through every diagonal. This is not a single pass. It is a sequence:
- Head to foot, to catch midspan sag.
- Side to side, to detect frame twist.
- Both diagonals, to reveal racking.
After each adjustment, I retighten in the same order and test again. This discipline separates a table that plays true from one that rewards nothing. A table that plays true depends on this verification.
Installing the Cloth, Cushions, and Rail System
Stretching and Stapling the Felt
Stretching felt requires a steady hand and a precise rhythm. I always begin at the centre of each rail, working outward with a staple gun. The cloth must lie flat without wrinkles, so tension matters more than speed.
Check several details before you commit:
- the weave direction runs from the foot to the head of the table
- the cushion noses sit parallel to the playing surface
- each staple lands within five millimetres of the previous one
Cushions follow the felt, each piece seated against the rail’s backing. A misaligned cushion changes the rebound angle, and that ruins a game.
The rail system then bolts down, aligning with the slate’s edge. For a successful pool table setup, sequence is everything. One wrong staple or loose cushion forces a restart. I check every fastener twice! This work rewards patience, not force.
Attaching and Aligning the Rails
Once the felt is down, the cushions become the real test of any pool table setup. Attach them wrong and you will miss every bank shot.
Each cushion nose must sit at the correct height and angle. If it sits too high or low, the rebound changes completely. Use a straight edge to check that the face touches the edge evenly.
Bolt the rail system down in a cross pattern. Tighten a corner, then move to the opposite one. The rail should settle onto the slate without force.
Check these three details before you tighten everything:
- Cushion noses parallel to slate surface
- Rail joints perfectly flush
- Pocket openings match spec
The entire pool table setup depends on this alignment. A single millimetre of error changes every angle on the table.
Ensuring Consistent Rail Height and Angle
Even the finest cloth will betray a rail that sits crooked. In my experience, most pool table setup failures come from felt bunching beneath the cushion base. A single ridge changes the nose height by a fraction of a millimetre. Run your thumbnail along the seam after tightening. If you feel anything, the rebound will differ from cushion to cushion.
The angle matters as much as the height. Lower the rail slowly and watch it meet the slate. Full contact should arrive at every point simultaneously. When one corner lands early, the cushion twists and every bank shot loses its predictability. Loosen the bolts and start over. A table with consistent rail height rewards you with honest rolls for years.
Finishing Touches and Long-Term Care
Testing Pocket Alignment and Ball Return
A misaligned pocket can turn a winning shot into a frustrating rattle. After the cloth is stretched and the rails are locked, the final pool table setup step is to test the ball return system. Feed balls through each pocket slowly, then at speed, and listen for any thud that indicates a blockage.
- Check that the return rails have no protruding screws
- Confirm the ball drop into the tray is quiet and even
- Inspect the leather pocket liners for wear after the first month
Long term care means repeating this test every few months. The cushions hold their tension, but the wood frame shifts slightly with humidity. A regular routine keeps the playing surface honest and the ball return silent.
Performing a Final Level Check
The final level check is the one step owners often overlook. Place a precision bubble level across the slate, then along its length. If the bubble drifts, shim beneath the frame with aluminium or hardwood wedges. Folded cardboard shifts with humidity and starts new problems.
A pool table setup is never static. Wood reacts to moisture, the floor settles, and frame bolts loosen over time. I have seen flawless tables drift in a single season. Rechecking the level every few months catches this early.
- The level shifts after significant humidity changes
- Leg levelers creep out of adjustment
- A ball across each seam reveals small changes
This ten minute routine prevents the slow decline of a precise table. The cushions stay lively, the ball runs true, and the pool table setup holds its performance.
Brushing, Cleaning, and Protecting the Table
Ask any Johannesburg resident about their pool table setup and they will tell you about the dust. The Highveld delivers a fine, persistent grit that settles into every seam of the cloth. This abrasive layer acts like sandpaper on the fibres, dulling the playing surface and slowing the balls. A simple brush, not a vacuum, kept for the table alone, is your first line of defence. Sweep gently, following the nap of the felt, to lift the debris without pressing it deeper.
For a deeper treatment, the cloth needs a damp cloth wipe down, but only with distilled water. Tap water leaves mineral deposits. You should tackle spills immediately, as the stain becomes a permanent part of the fabric. Cushion rubber also craves attention; a dry, soft brush keeps the pores open, preserving the lively rebound. The table frame deserves a regular polish to fend off the ambient moisture that encourages warping.
The humidity swings in Cape Town or Durban will test even the most dedicated owner. A stable room temperature and a dehumidifier in coastal regions help maintain the integrity of the wood and the level of the slate. When the cloth eventually loses its sheen, you will need to perform a full replacement. Your careful cleaning routine:
1. Brushes the surface with the nap.
2. Wipes the rails with a dry microfibre cloth.
3. Checks the pockets for chalk and dust build-up.
4. Inspects the cloth for snags or shiny spots.
This protects your investment and ensures the original pool table setup remains the focal point of the room for decades. Consider a fitted cover for the off-season. It is the cheapest insurance you can buy against the brutal South African sun fading the colours on the rails.

0 Comments